
Ditto’s ‘Make Your Own Wand’ Tutorial!!
Hi all! So, this is Ditto’s very first ever tutorial post, showing folks how Miss Narrator and I made these really fun Wizard101 – style wands! They don’t take too long to make, and they’re really inexpensive, so they’re a really fun project for a rainy afternoon! For this tutorial we made a Life School wand and a Storm School wand – here they are finished, and below I’ll try to give you all the details you need to try and make your own!

Wands Complete!
Materials Needed:
Like I said, this is a very inexpensive project that you can probably do with things around your house, and what I show here are just suggestions – you can certainly use your imagination and use whatever you have to make a unique wand all your own!
- Wooden Wand (I used chopsticks we got from the local sushi restaurant, but you can use a wooden dowel, a small tree branch, or something similar)
- Hot Glue Gun (Make sure if you’re a younger wizard you get a grownup’s help with this, it can be hot!)
- Paints in the appropriate colors (could be acrylics, model paints, paint pens, etc…)
- Paint brushes (I use a larger brush for base coating and smaller brushes for detail work, but one is really all you need)
- Optional – Bits and pieces to help decorate your wand, like buttons and gems and such.
- Optional – a bit of sandpaper to clean up the wooden wand if needed

Wand Making Materials

Wand Materials – I used Chopsticks
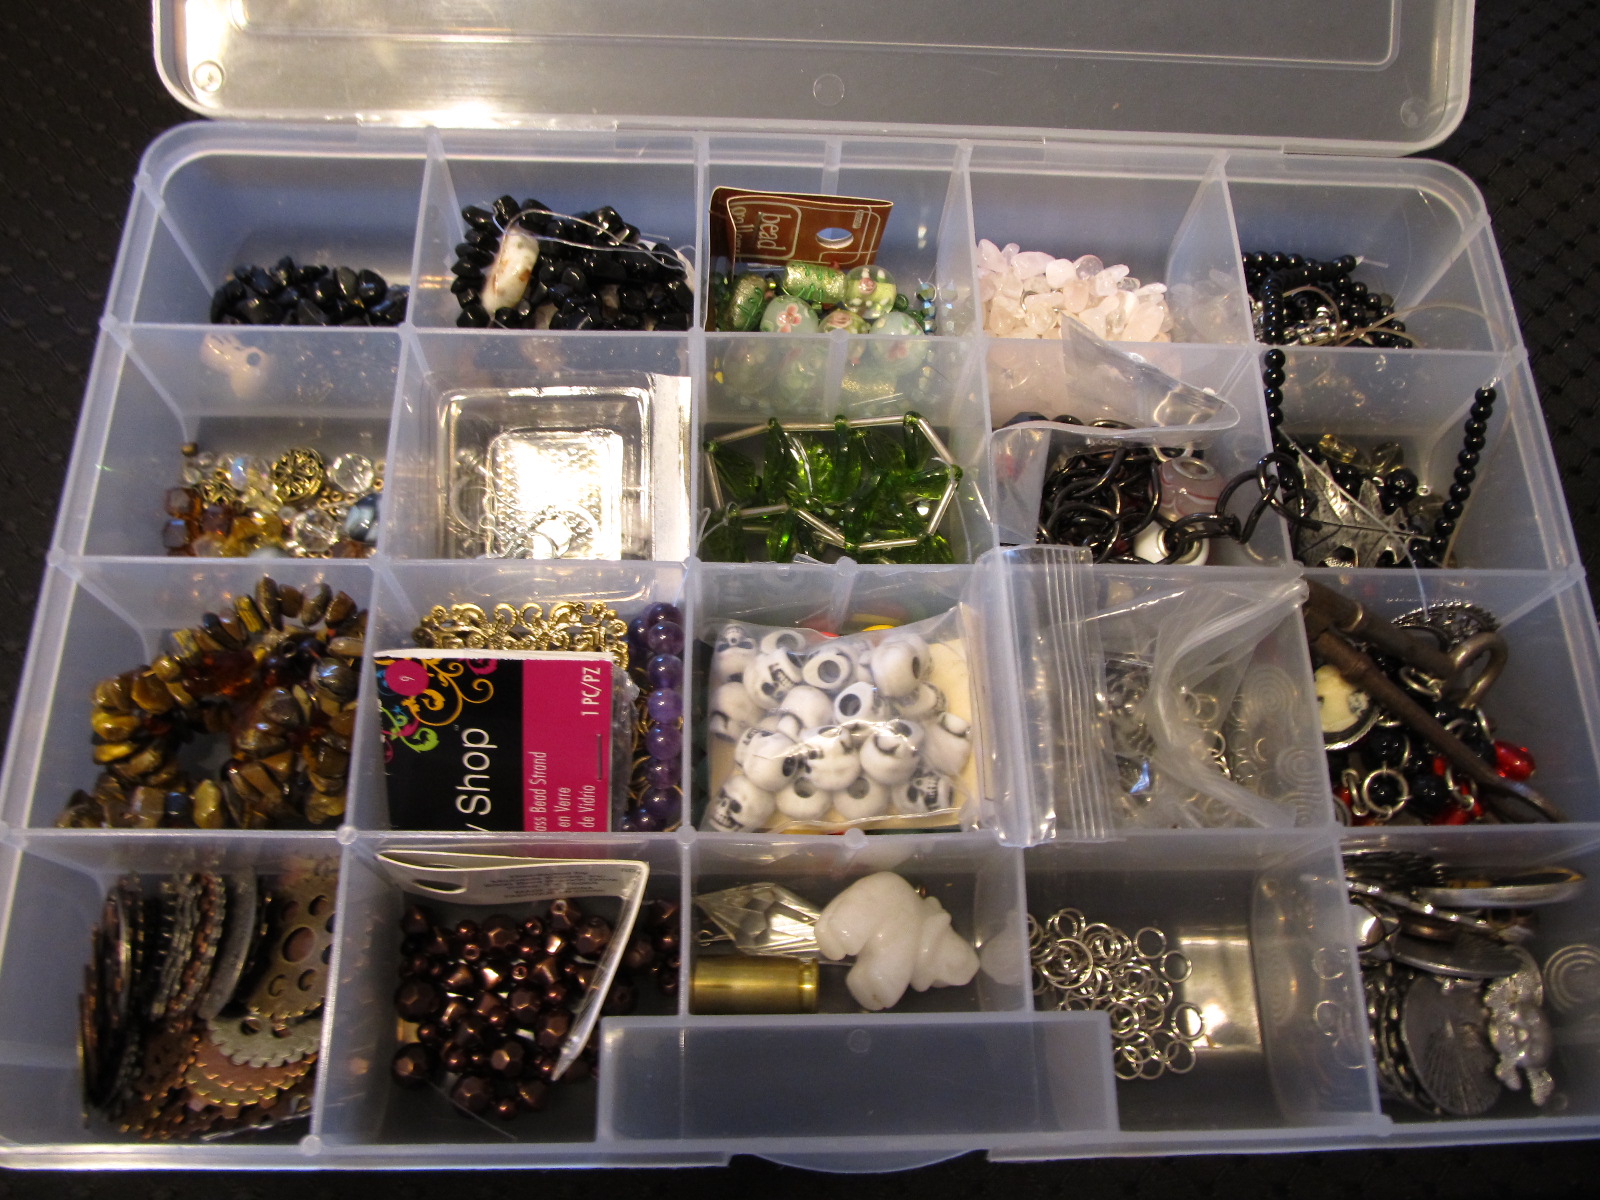
Miss Narrator’s Bits and Bobs fer all yer wizardry…
Step 0: Create the Concept
Before I start anything, I try to figure out what my high-level concept is; this is going to guide you in what colors, what accessories, and especially how you’re going to lay your glue – that’s the tricky part, because hot glue dries fast and it’s hard to fix mistakes, so you do not want to just ‘wing it’ when it comes time to lay the glue.
For the Life wand my concept was simple – I wanted something organic, with the handle looking more like a trunk and vines that coiled and grew up to the tip. I had a couple green glass leaves and a nice green bead that would work well for accents too. It would all be natural plant colors, greens and browns.
The Storm wand was harder – I finally found a copper gear and some other copper looking accents, and decided on trying to do a lightning pattern up the wand, like it’s shooting out of the handle. For colors I wanted to represent Storm school with purple, yellow, and gold… Not sure how successful that was in the end.
Step 1: Create the Handle
IMPORTANT: Hot glue guns are HOT and can burn you, and if you get hot glue on your skin it will stick and burn you, so be very careful and if you’re a younger wizard, get an older wizard to help you out with the hot glue steps.
I use the hot glue gun to first bulk up the base of the chopstick and give it some definition. For the Life wand I added tendrils of glue layered up to make it more like organic tree or vine. For the storm wand I used flatter, less organic shapes. I glued the accessories on at this stage too – this is a choice you can make, to glue the beads or other accessories on now (and have to paint around them) or after the painting is done (and have to glue them on without messing up the paint too badly)

Make the handles with Hot Glue
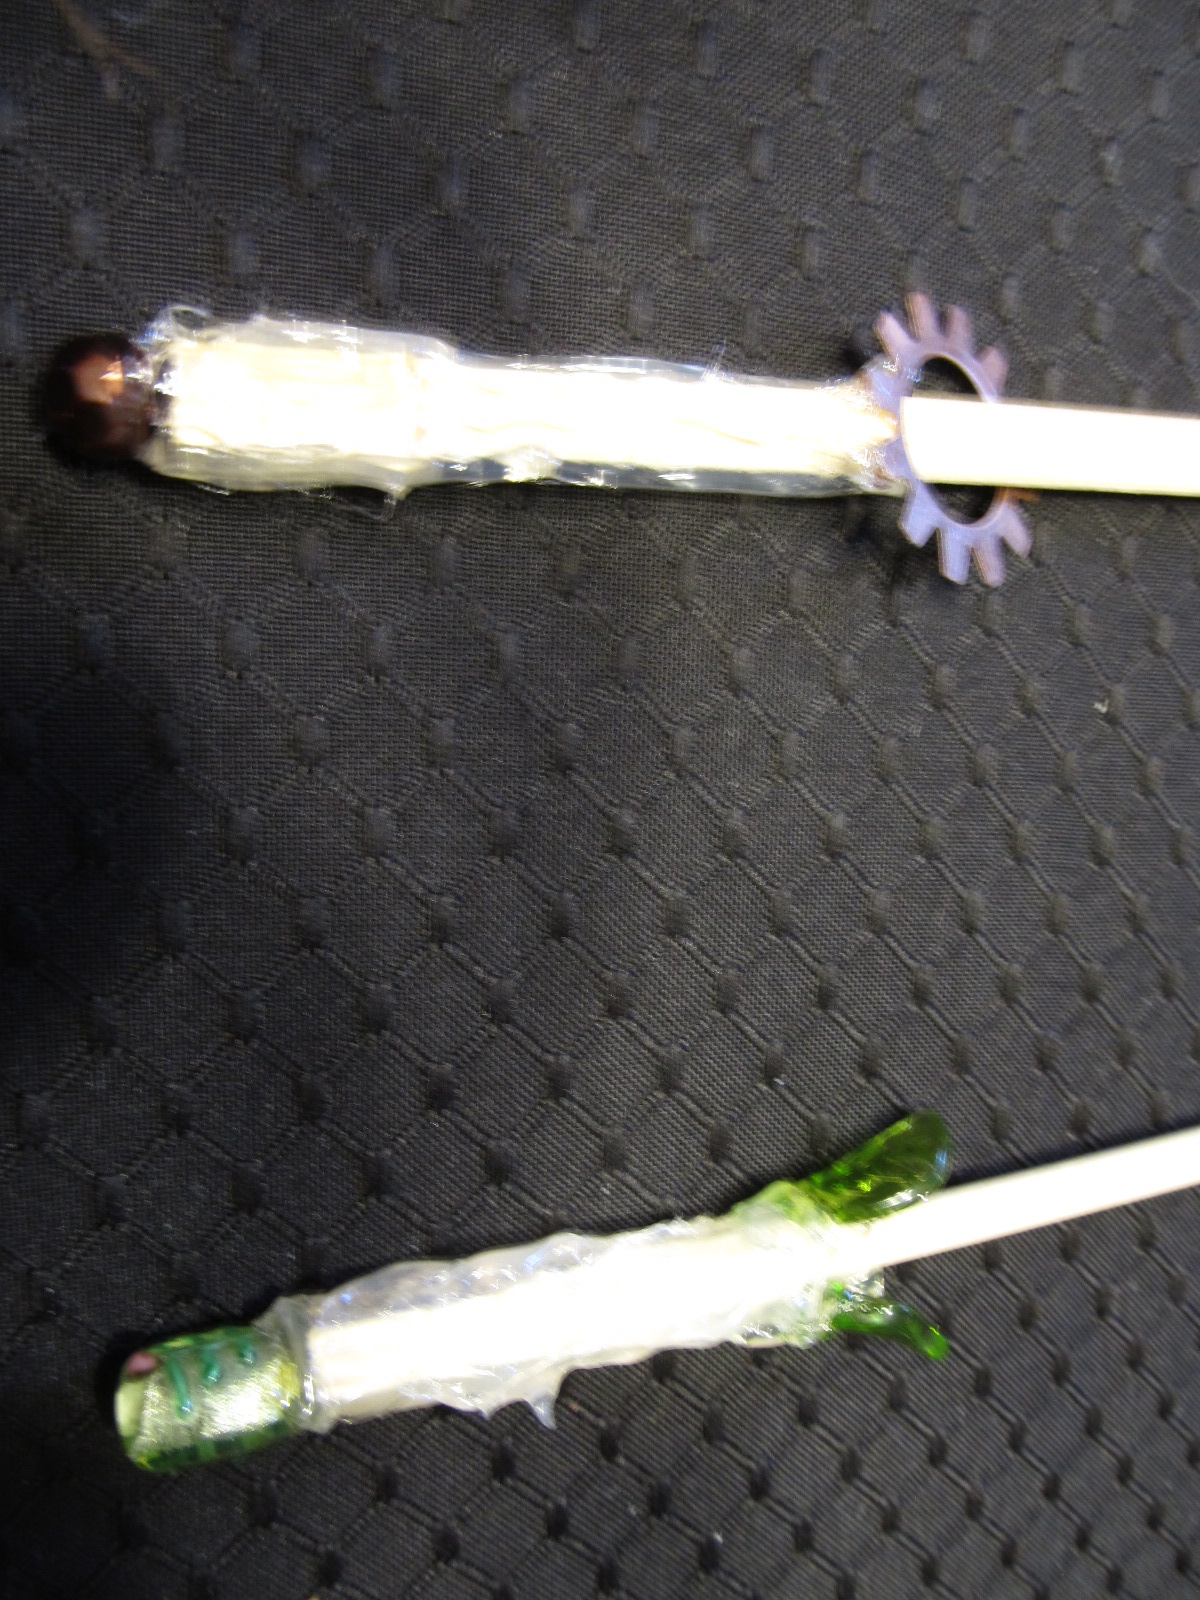
Handles Created and Accessories added
Step 2: Detail the wand shaft
You don’t really have to do this – a smooth wand can be every bit as nice looking as one with some detail, it’s all personal preference. For my wands, like I said, I wanted to do a vine pattern for the Life wand and try a lightning bolt pattern for the Storm wand. I have a nice spiral pattern for my Fire wand too… you can really do whatever you want here. Keep in mind, with the right paint job the details you lay down here will really ‘pop’ and stand out, they’ll be a defining attribute of your wand.

Life Wand – Vines

Storm Wand – Lightning Bolts
Step 3: Paint the Base Coat
Before you even open a paint bottle or pick up a brush, it’s best to make sure your work area is all set up and you have everything you need, you’ve got protective paper or plastic down to protect surfaces, etc…

Paint Station Setup
The first layer of paint I lay down is a base coat – the whole wand (or most of the wand) gets this. You could also do two base coats – one for the handle and one for the rest of the wand – if your color scheme is very different. I could have done purple for the handle and yellow for the shaft on the Storm wand, for example. Let the base coat dry as long as the paint recommends, because you don’t want it to be damp for the next step. You can also use a hair dryer on a low setting, not too close to the painted surface, to speed up the drying time a bit. That’s a tip I learned from Adam Savage.
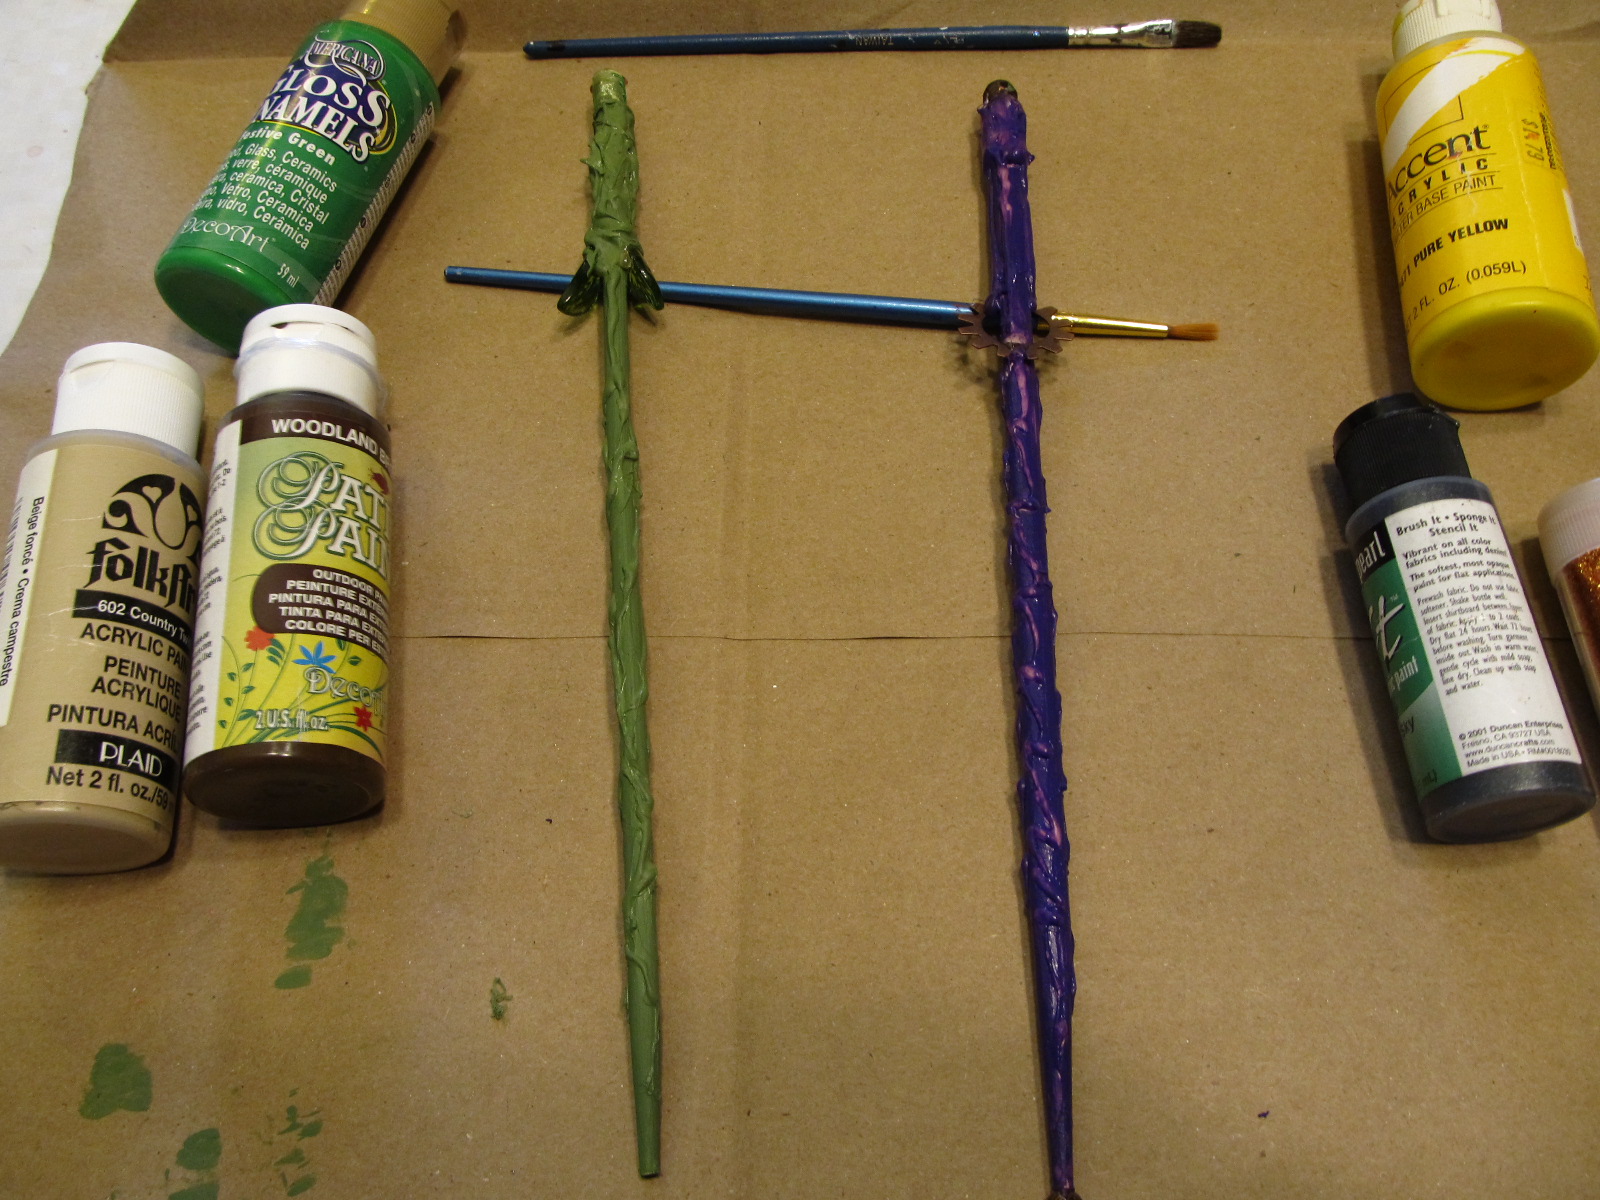
Base Coat – moss green for Life, purple for Storm
Step 4: Start Dry Brushing / Painting Details
Dry brushing is a technique where you get a very little bit of color on your brush, then lightly brush that on to your surface – the paint slowly builds up on raised areas, and brings out highlights. For the wands, I lightly dry brushed the raised hot glue areas in lighter colors than the base coat, and that started to really pull up those details and make them stand out. I like to do three or four or more layers of dry brushing, slowly adding layers of detail, shadows, etc…
For the Life wand I started dry brushing with a rich brown on the handle and lightly on the lower half of the wand shaft. For the Storm wand I started with a gold accent on the handle and then highlighted the lightning bolts with gold as well, making it look like the storm energy was shooting through the handle and up the wand to the tip.

First dry brush coat
Step 5: Continue the paint details
Painting the detail is what really brings a wand to life, in this monster’s opinion. For the Life wand I wanted to convey a gradation from brown branch or stump growing out to a vibrant green tip, the life energy flowing out. This took a number of layers and I kept asking Miss Narrator’s opinion until I got it ‘just right’ and it was where I wanted it.
The Storm wand was much trickier – I wanted to incorporate the Storm School colors of purple and yellow, but I painted the whole wand a base coat of purple, and it was hard to get the yellow (a much lighter color) to work after that. Hindsight being 20/20, I shouldn’t have painted the whole wand with the purple base coat, as it’s very hard to paint a lighter color over a darker one.
You can step away from the painting for a while too, if you’re not sure it’s going in a direction you’re happy with. At this stage, usually less is more and light layers of dry brushing can bring out a lot of additional detail.

more dry brushing
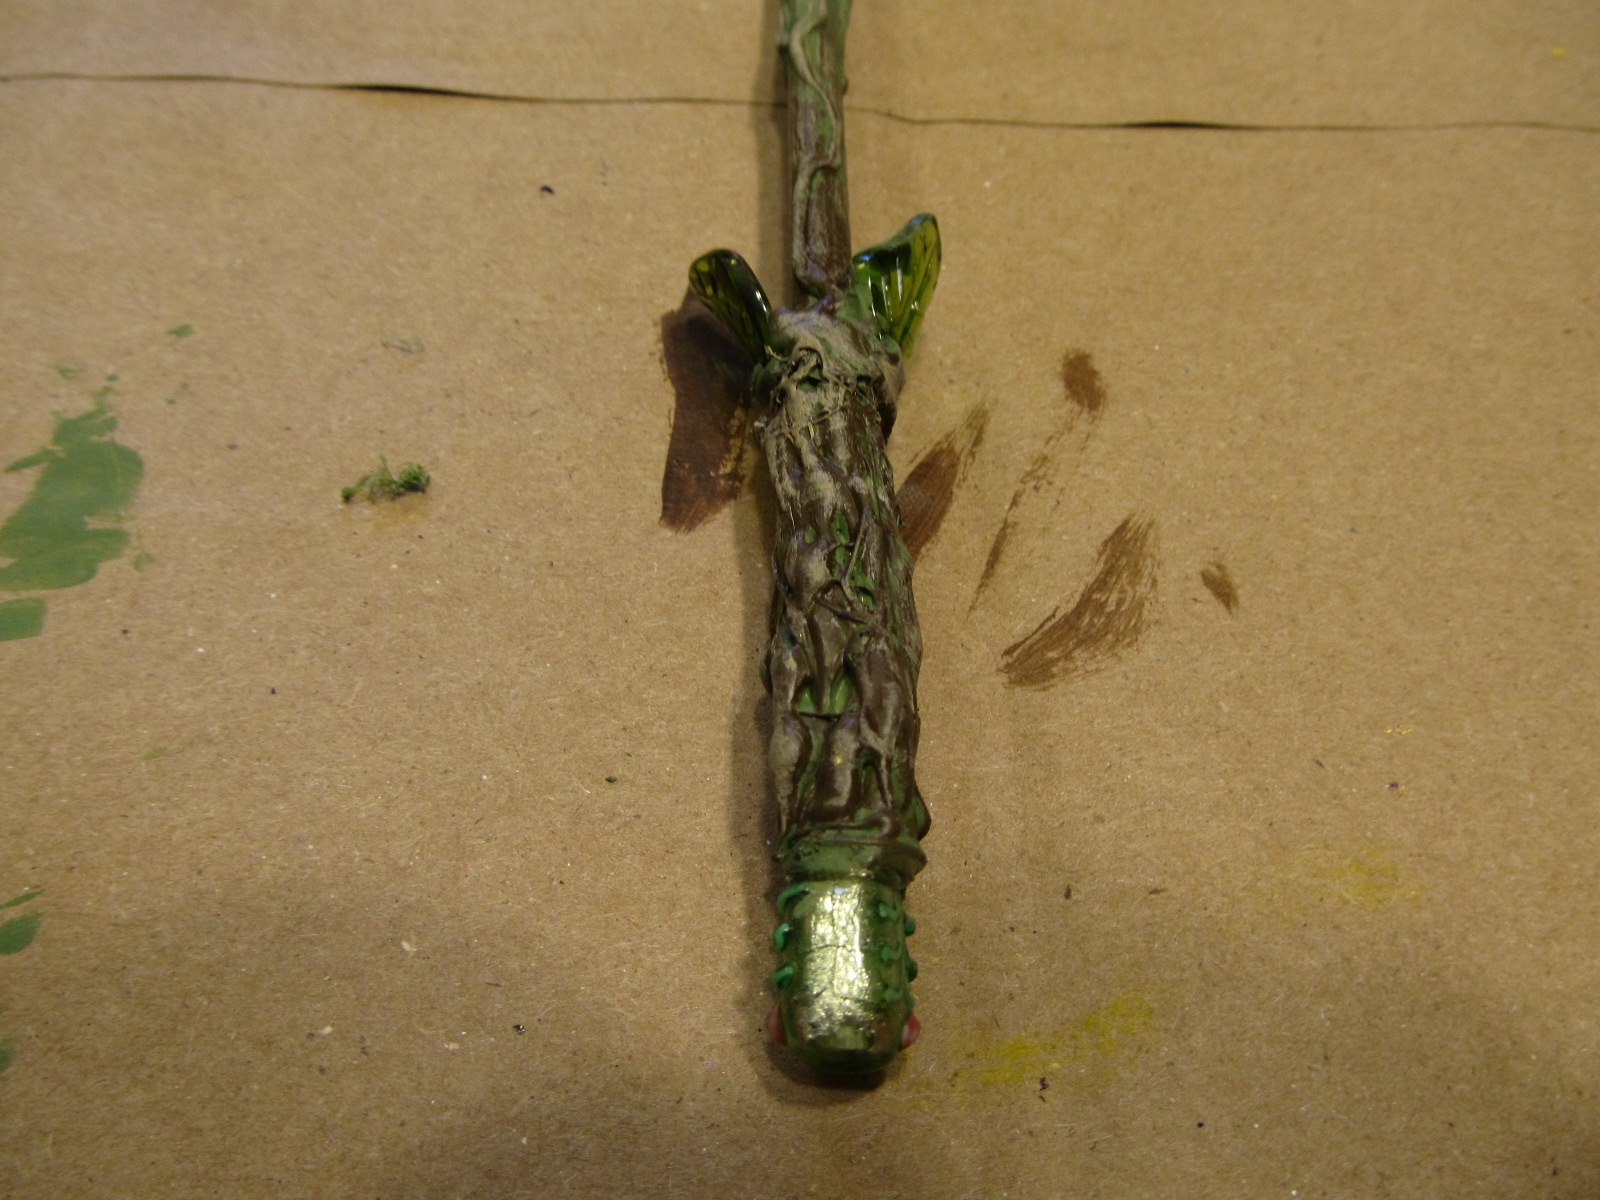
Life Wand in progress – handle detail
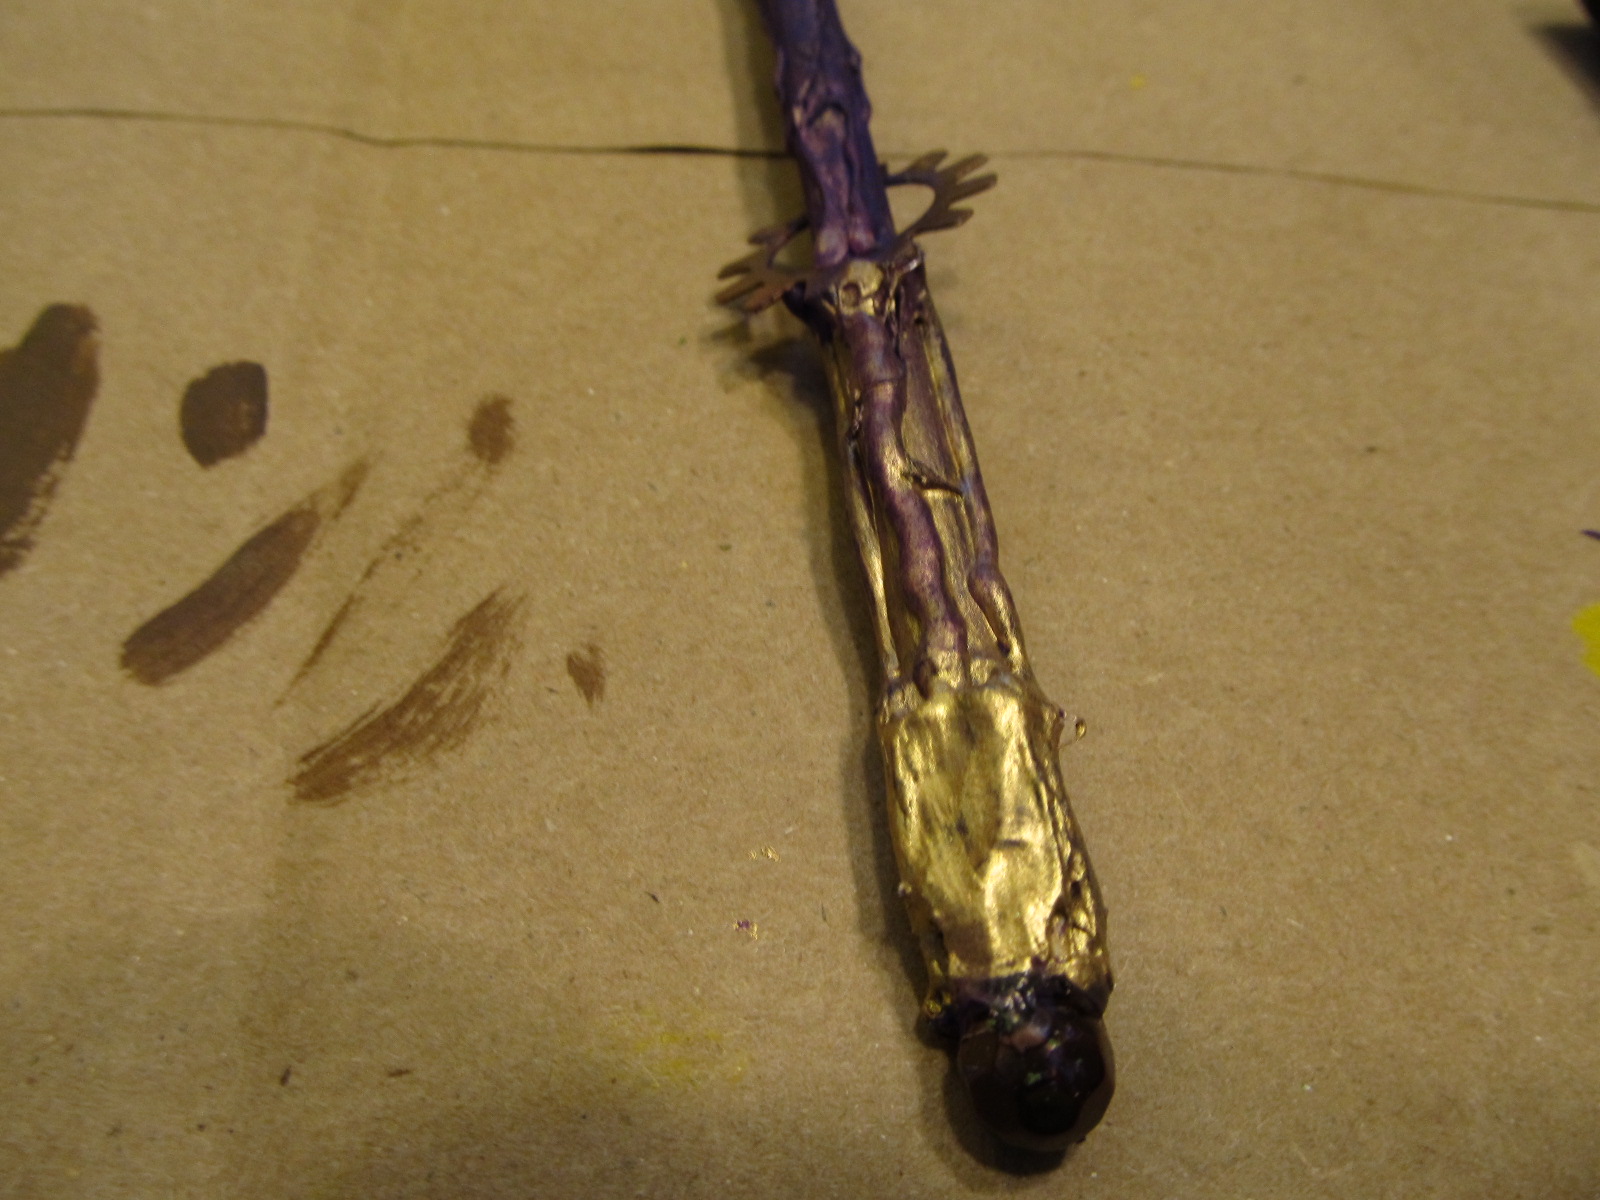
Storm Wand in progress – handle detail
Step 6: Enjoy Your Wand!!
That’s really about all there is to it – with a couple hours work (a lot of that is waiting for paint to dry) and little to no money, you can have a fun wand! I’ve pattered these on Wizard101 schools, obviously, but you can make up your own wands, come up with your own ideas. You can make science fiction wands, alien wands, Harry Potter wands… whatever you can imagine you can probably make 🙂 And like Ditto always says – have fun with it!!

Storm Wand Complete – Handle Detail

Storm Wand complete – Full Detail

Life Wand Complete – full detail

Life Wand Complete – handle detail
If you do use Ditto’s wand tutorial to make your own wands please let me know – send me pictures or post them here so I can see what you did – it’s very exciting!!! Have fun with it, OK?

This is a FANTASTIC guide DItto 😀 You make it look SO easy and it is very creative. What a wonderful thing to do with the kidlets or just the creative adults. There are some beautiful chopsticks out there for very little money that would make a great undercoat to start with. Wow you have my creative gears a spinning. Beyond well done 😀
March 14, 2015 at 11:15 pm
Pingback: Ditto’s full set of #Wizard101 Wands! | Ditto Monster's Bloggy Thingy
I am a Wizard101 player and I have always wanted to MAKE my own wand, but I have never heard of this website before. Now that I know about this it is awesome! I will definitely share this with friends, family, and maybe even teachers! 😄
April 16, 2015 at 8:27 pm